


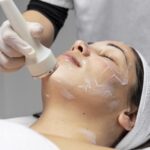
HydraFacials have become one of the most requested professional skincare…

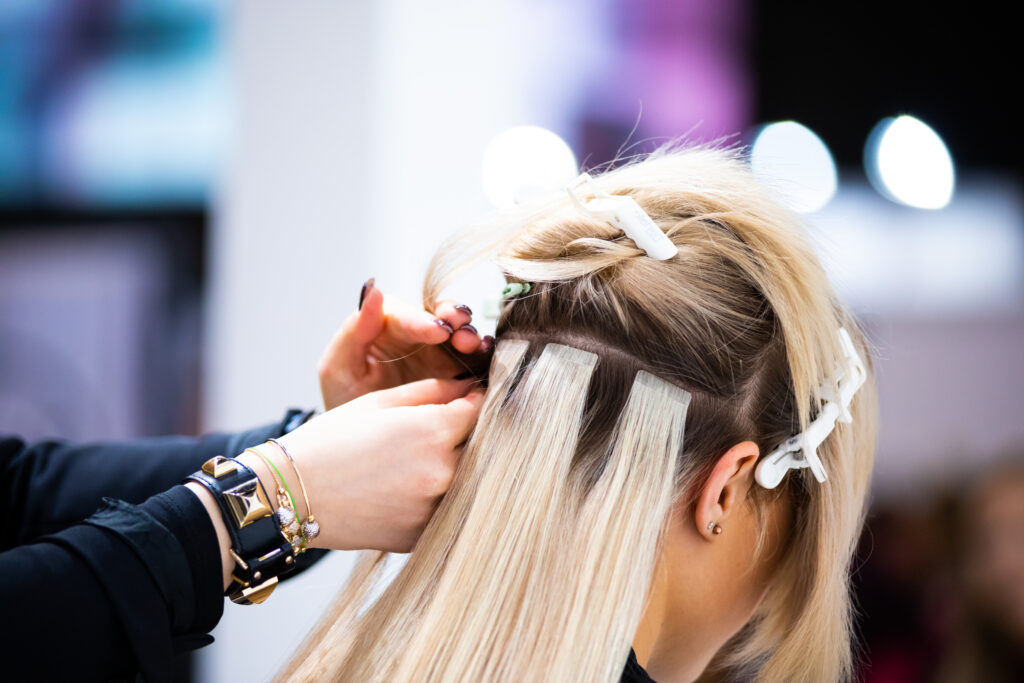
Regular maintenance keeps extensions comfortable, secure, and beautiful. Here’s a…

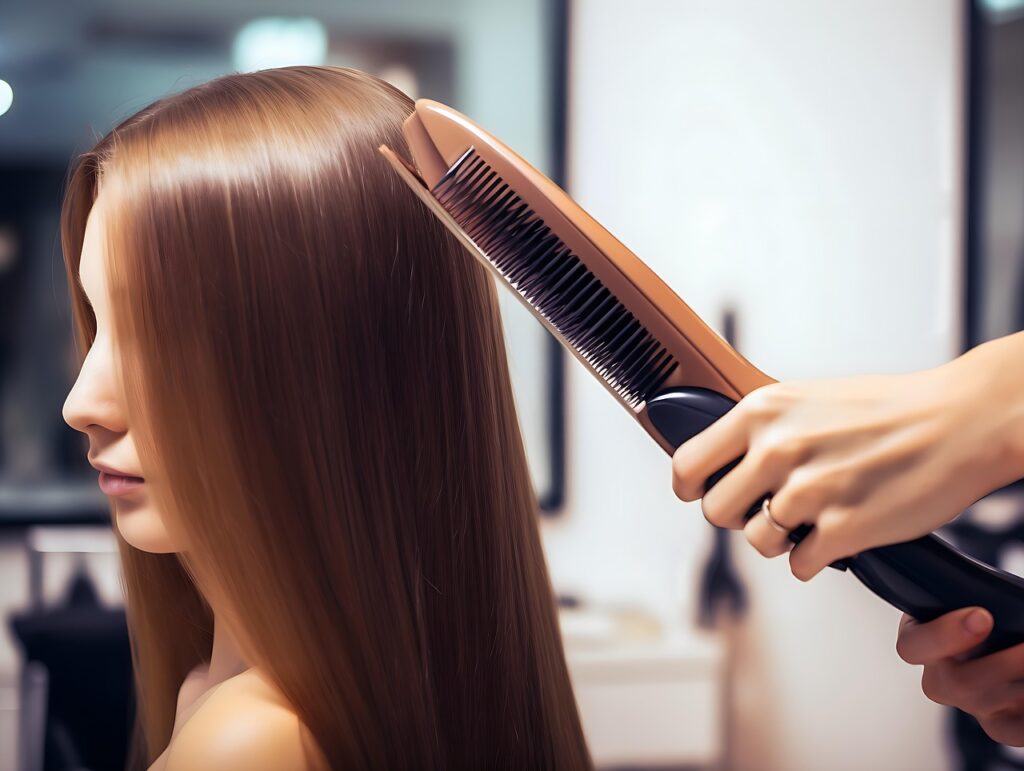
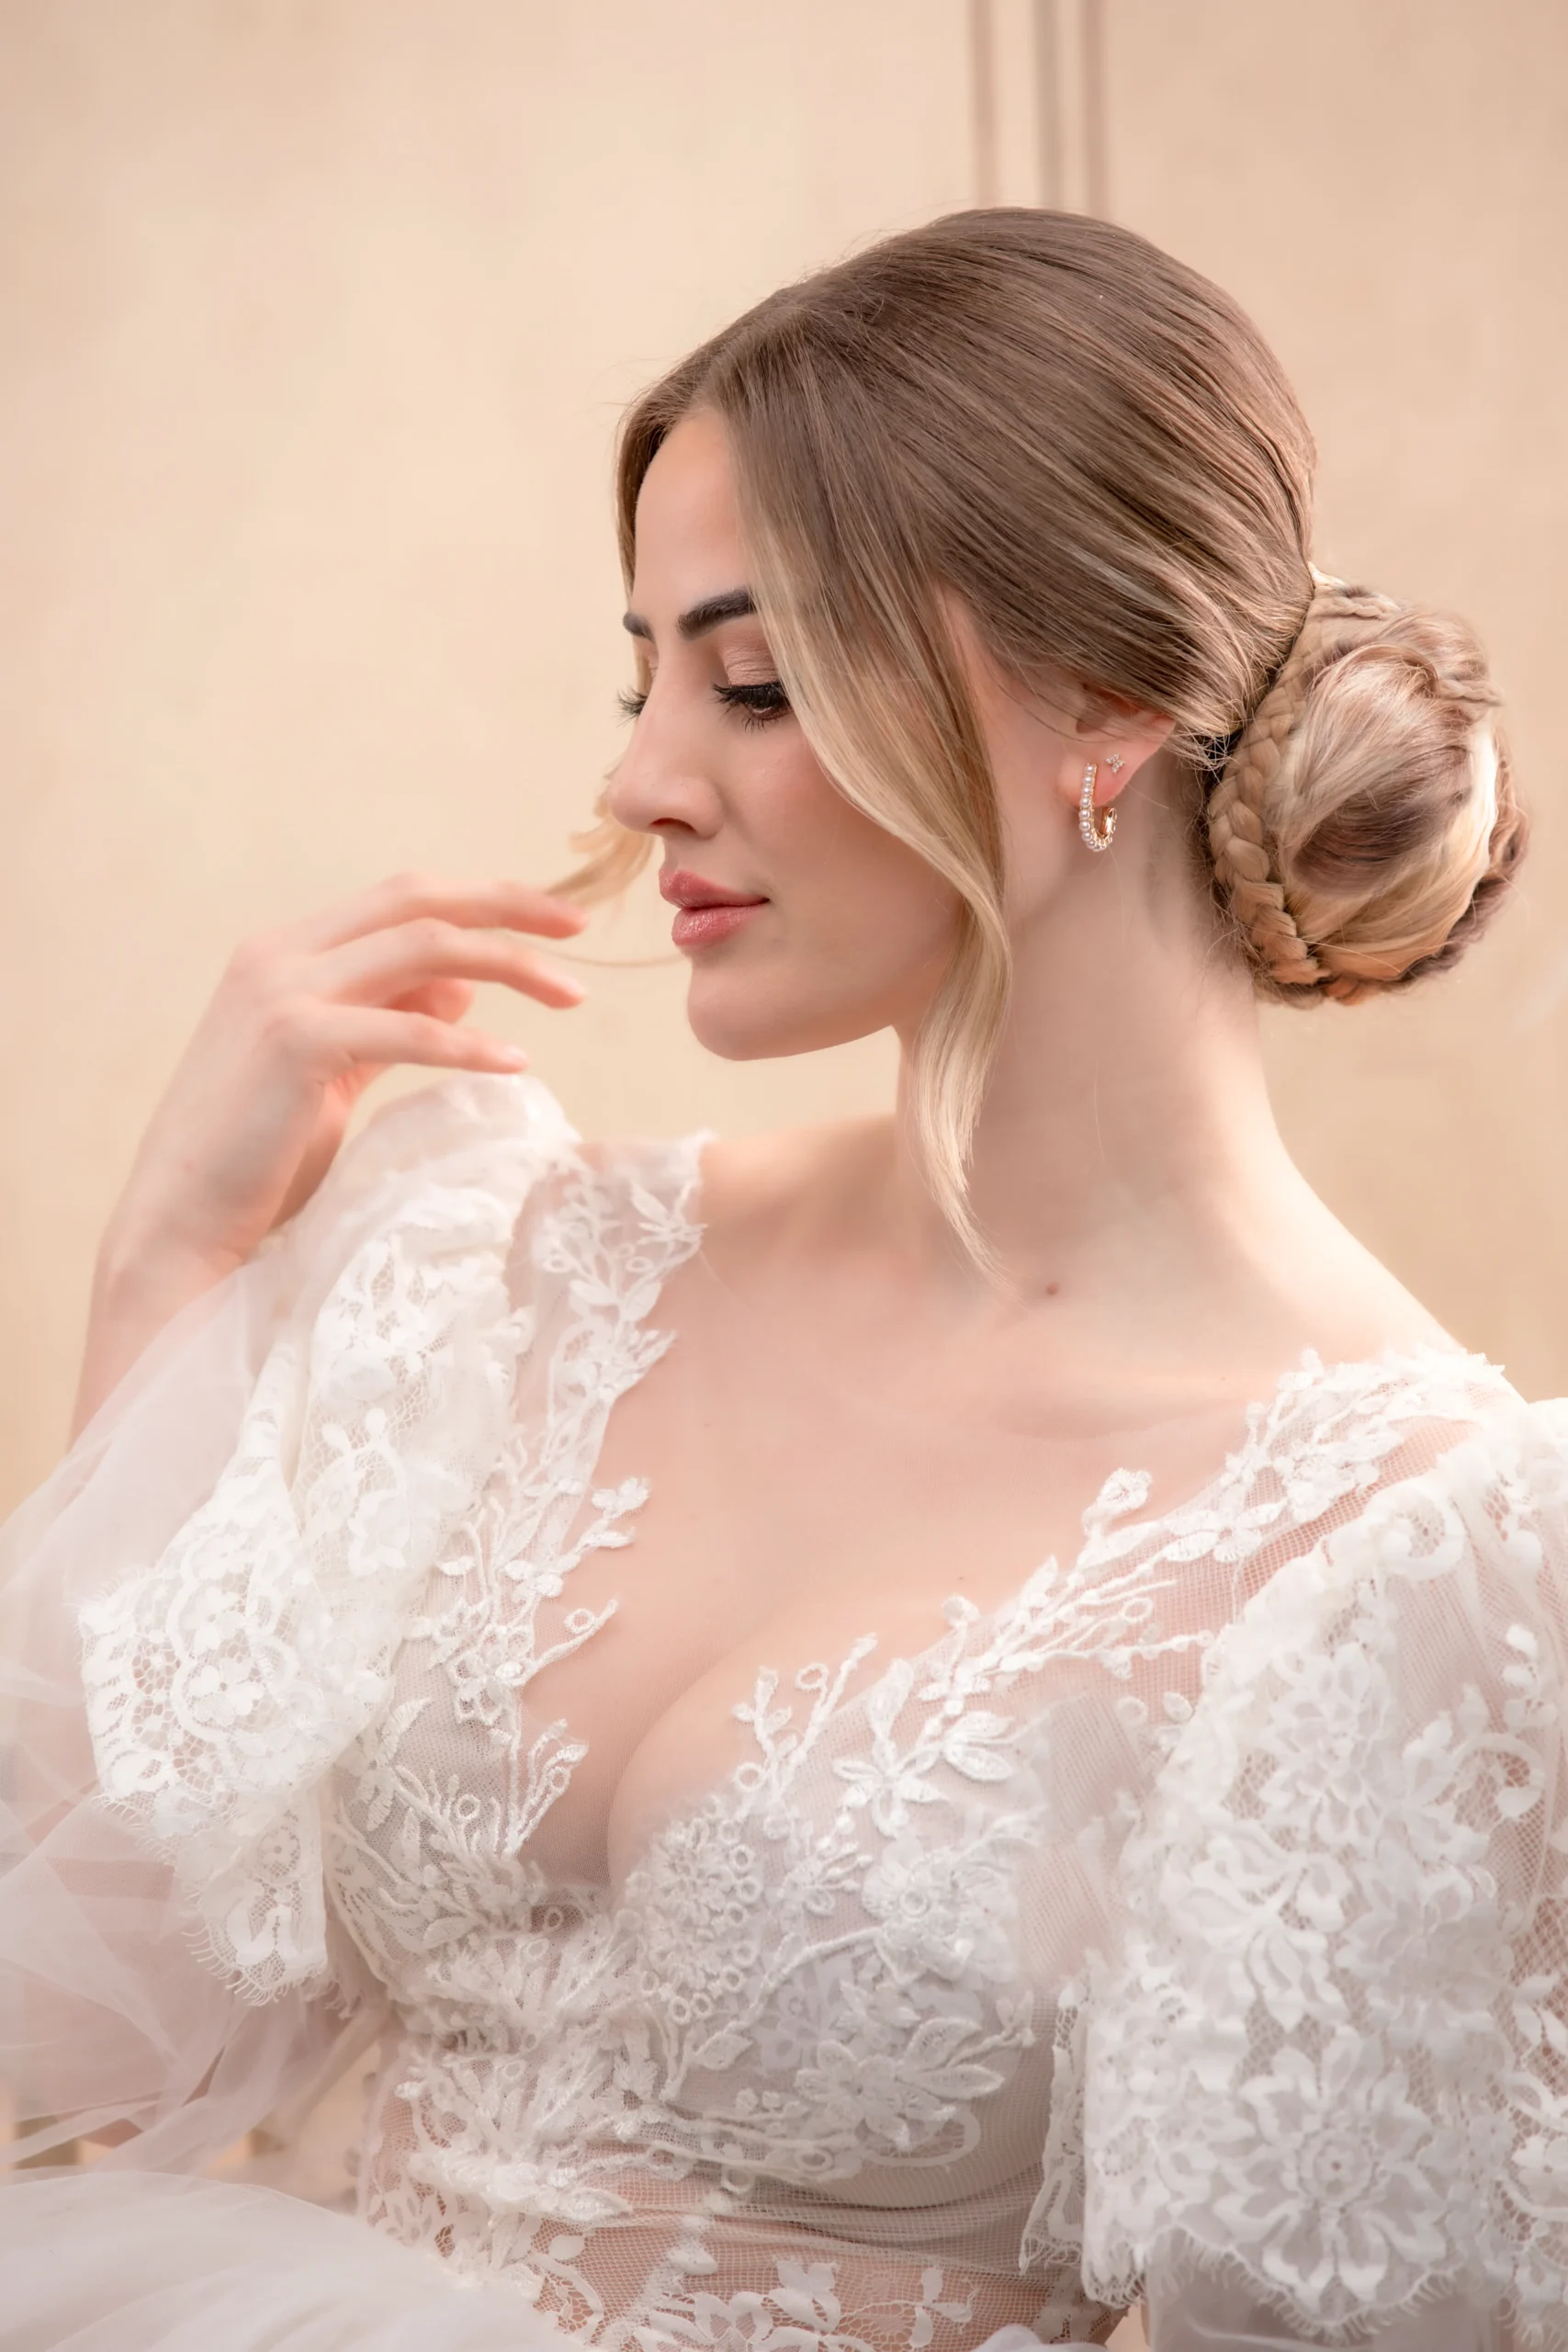
Wedding hair should be romantic, secure, and photo-ready from first…

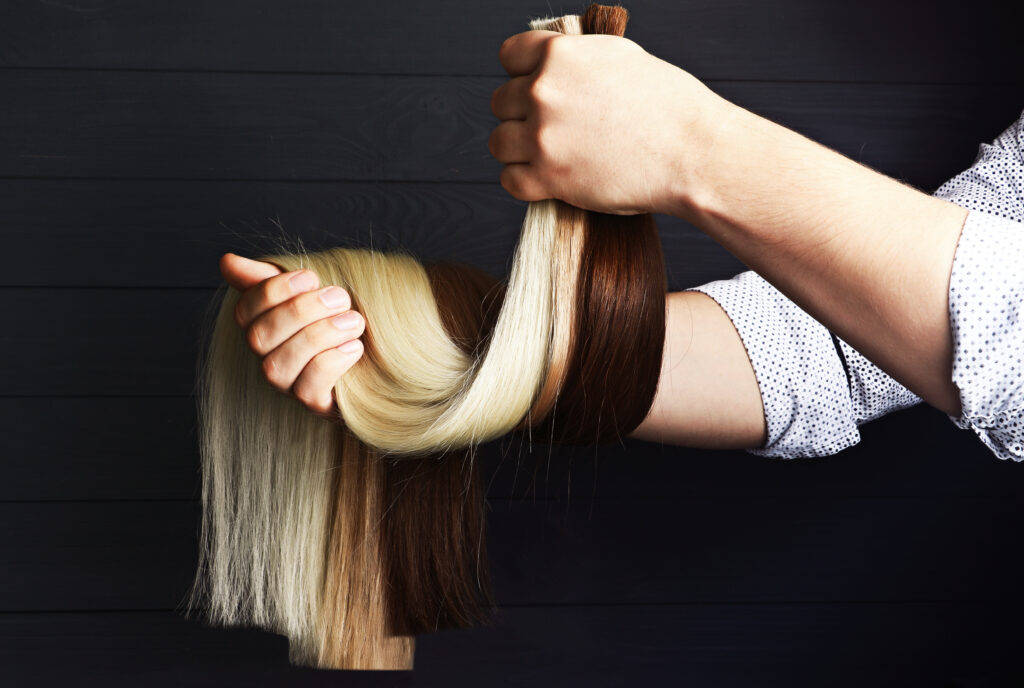
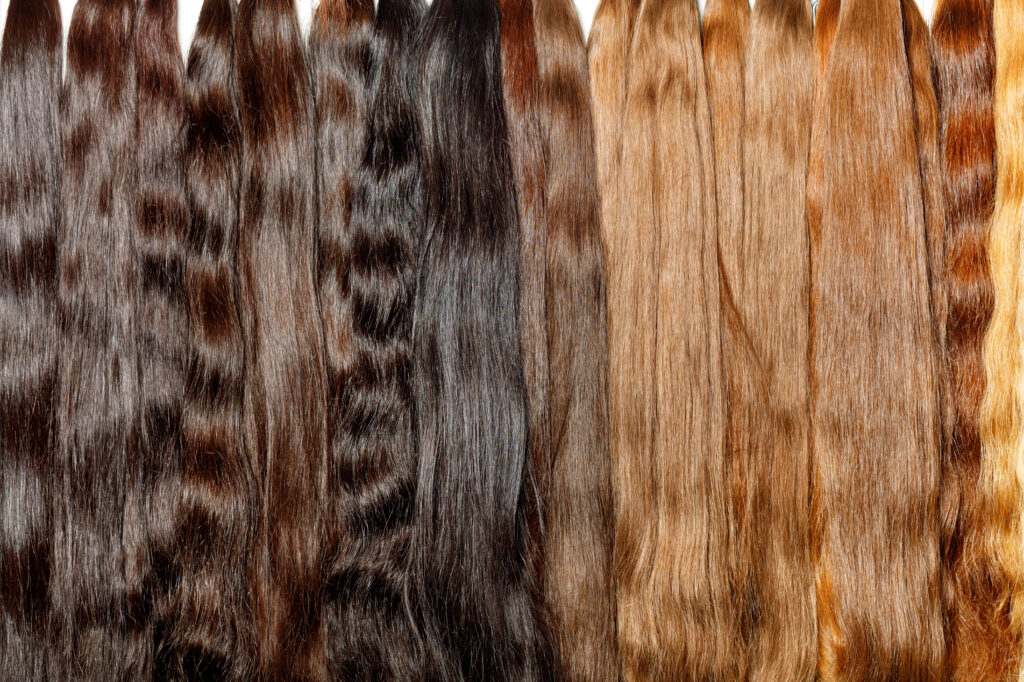
A hair extension consultation should feel calm, clear, and genuinely…

Choosing the right spa is crucial to ensure you get…